Click Screen on
Pick the display. The camera stays on too.
 Takes
Takes
Takes Screen recorder
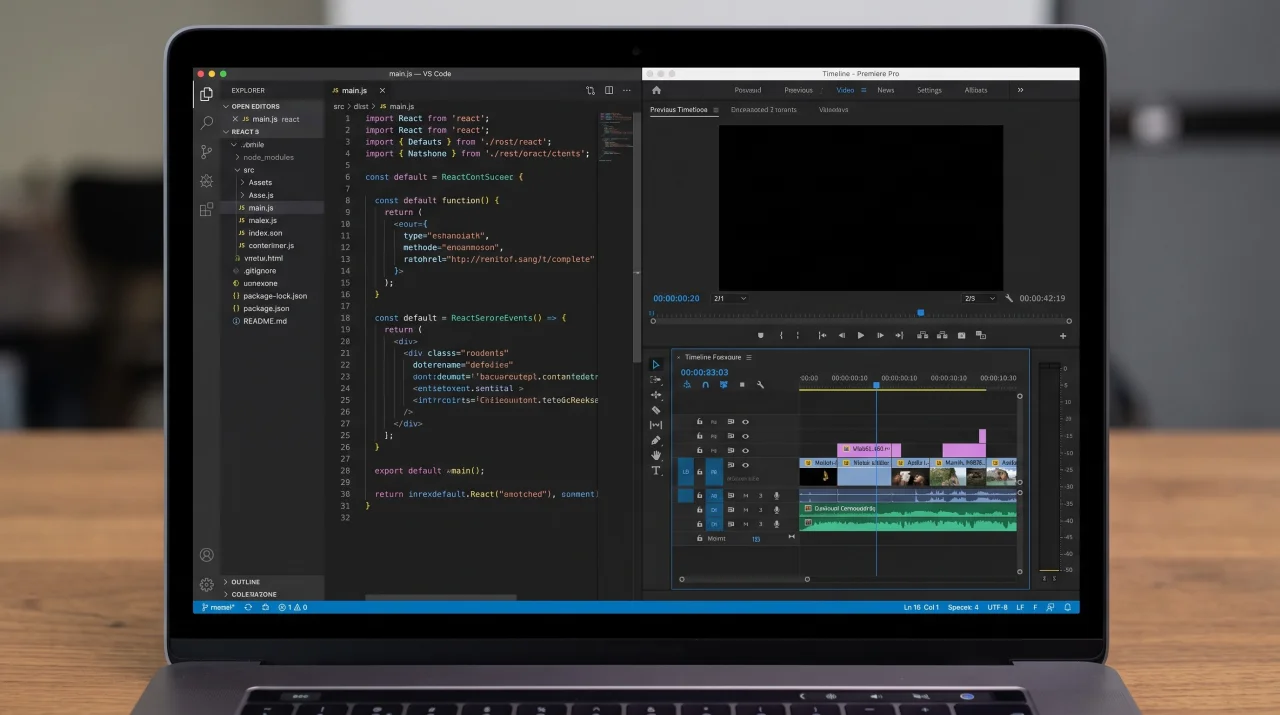
Takes records the screen and your face as two synced files, so you pick the layout later, in the edit. No watermark, no account.
take-03-camera.movcamera + mictake-03-screen.movscreen + mic, 60 fpsHow it works
Pick the display. The camera stays on too.
3, 2, 1. Both files start at the same time.
The teleprompter is on your screen, but not in the file.
Record again until it's right. Keep the best.
What you get
Screen full size, face in a corner, or cut between them. Decide later.
The whole display, at its full resolution.
Takes leaves its own window out of the screen file.
MIT licensed. No account, no trial.
Is it for you?
Guide
From the first permission to a finished tutorial.
The first time you record, macOS asks for the camera and the microphone. Click Allow. For the screen, open System Settings › Privacy & Security › Screen & System Audio Recording and turn on Takes. macOS may ask you to quit Takes and open it again.
You do this once. After that, ⌘R starts both recordings.
A clean screen makes a better tutorial. Before you record:
On the record screen, click Screen off so it says Screen on. Pick the display, the camera and the mic. Press ⌘R: a 3-2-1 countdown runs, then the camera and the screen record at the same time.
You still see your script. Takes leaves its own window out of the screen recording, so the teleprompter never shows up in the file. Press ↑ or ↓ to change the scroll speed while you talk, and Space to pause.
Record as many takes as you need. Star the best one. You will cut the rest later, or ask Takes to.
Each take gives you two files in the video's folder in ~/Movies/Takes, for example take-03-camera.mov and take-03-screen.mov.
Both are HEVC (H.265) .mov files. They open in QuickTime, Final Cut Pro, Premiere Pro and DaVinci Resolve.
Because the screen and your face are separate, the layout is a choice you make after recording. Ask the chat in Takes, in plain words:
Claude Code builds the edit with ffmpeg and saves it as a new version in the edits folder. Comment on a frame to change it. How the AI editor works.
macOS can record the screen on its own: press ⇧⌘5. To show your face too, many people float a QuickTime camera window over the screen. That works, but your face is then part of the screen picture, at one size and in one place. You can't move it or take it out later.
Takes records the two apart and adds a teleprompter. ⇧⌘5 can do one thing Takes can't: record a single window or part of the screen.
Get started
It installs Takes, ffmpeg and Claude Code, signs you in and opens the app. Run it again to update.
Questions
Yes. Takes is free and MIT licensed, with no account and no watermark. Only the AI parts (scripts, edits, posts) need a paid Claude plan, Pro or Max.
Yes. Click Screen on in Takes and press ⌘R. The camera and the screen record at the same time, as two synced files.
No. Takes records your microphone, not the sound your Mac plays. For a demo with app sounds, use another recorder.
No. Takes records a whole display. With two displays, you pick which one.
No. Takes leaves its own window out of the screen file, so you can read your script while you record.
HEVC (H.265) .mov files. The screen records at its full resolution and 60 frames a second. The camera records at about 20 Mbit/s at 1080p.
In ~/Movies/Takes on your Mac, one folder per video. Nothing goes to a cloud.
No. Takes needs a Mac with Apple silicon and macOS 15 or later.
More about Takes